Clearing and Painting Lexan Gauge Needles
For your 95-99 GM Full Size, but will work in ANY car with lighted needles.
In order to remove your needles, you will need to have the truck at NORMAL operating temp, take a pic of the cluster (Or do it the old school way and write it down) and simply pry the needles straight off. I used a fork to make sure nothing got damage, but they pry easily.
I wanted to make a change in my Denali cluster, so since I love the blue background, I thought red needles would work better.
This is how to do this correctly...
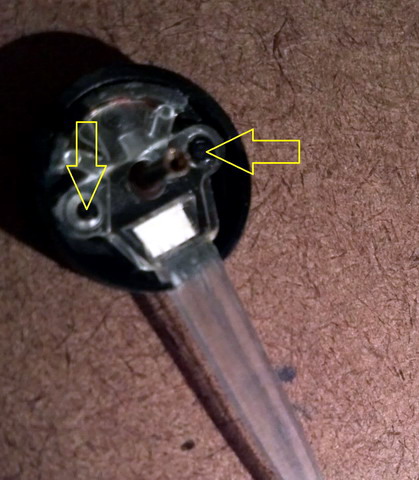
To make the job a LOT easier, you will want to remove the needle from the base. An exacto knife or a razor blade makes this easy. it can simply be re-glued back on later. I did not do this with the first batch.
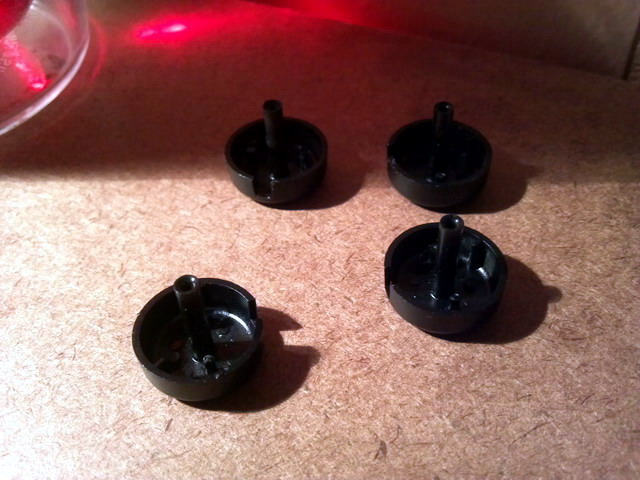
There are the bases removed. The reason for removing them is to ensure no paint gets in behind them.
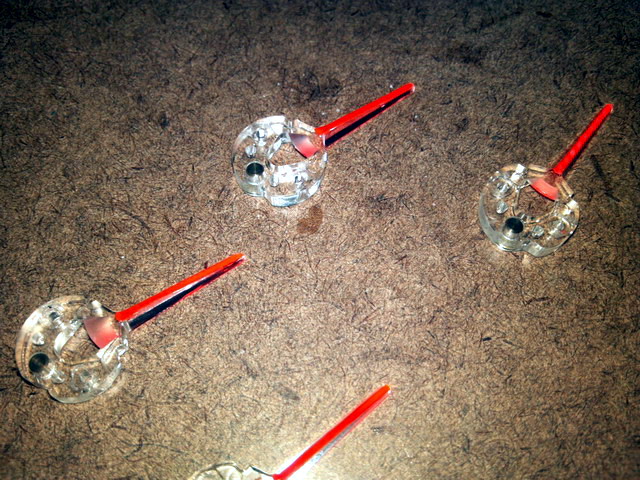
This is what the needles look like removed. You will be painting the back only!
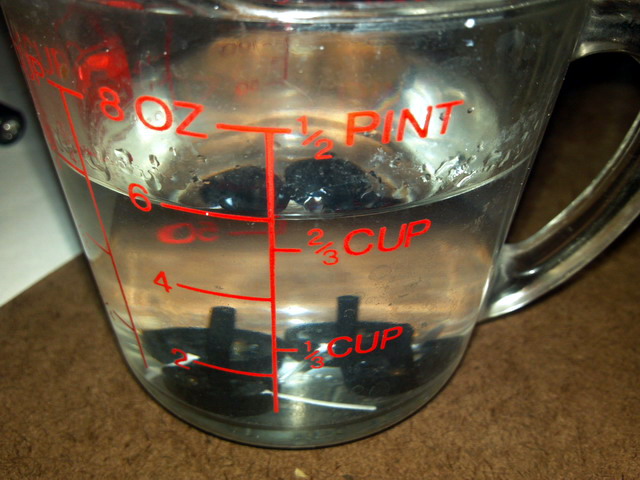
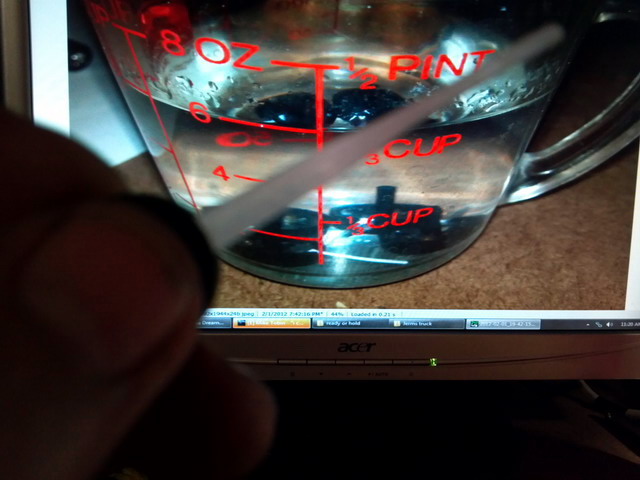
I let the needles soak in rubbing alcohol for a day...it really makes removing the paint easier. 50% works, 90% is better.. DO NOT use paint thinner! It will work, but it WILL cloud the needle.
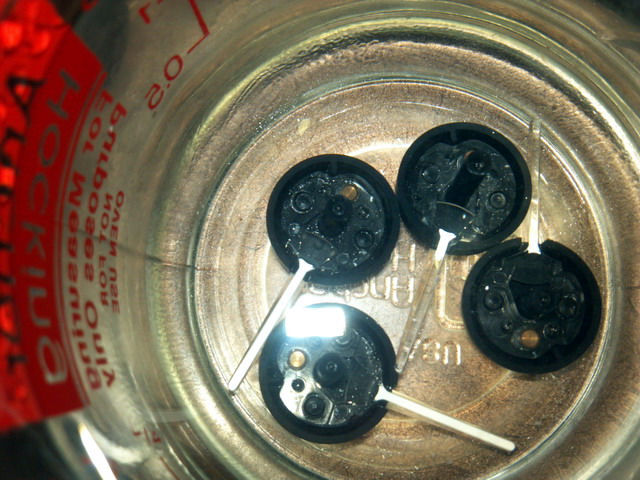
Another view of the needles. I left the bases on for the soak, as it didnt hurt anything. Since then, all the ones I do now, are removed.
After the soaking, simply use a Q-Tip soaked in the alchol to gently rub the paint off.
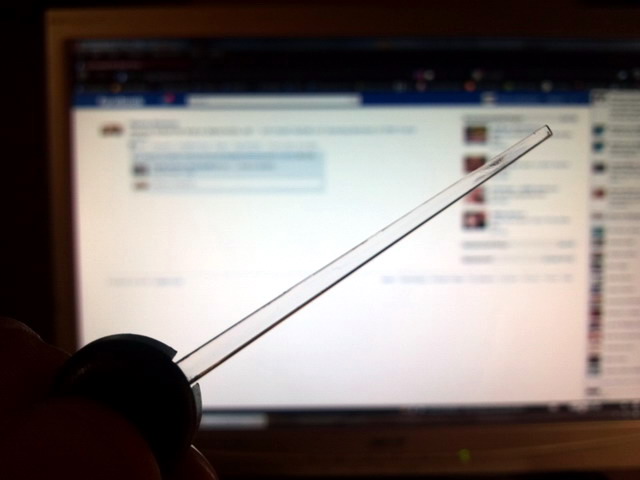
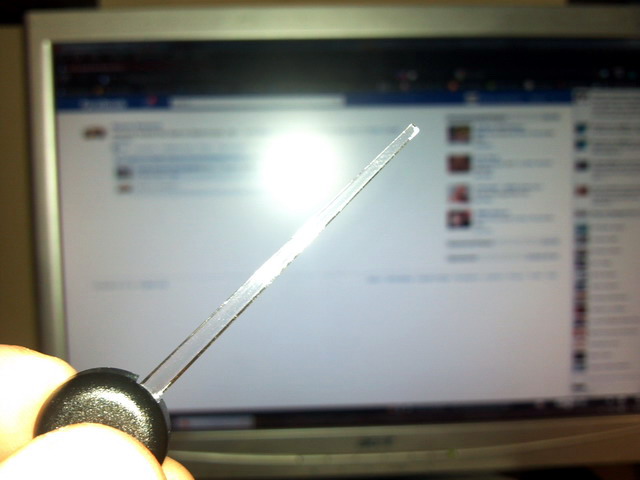
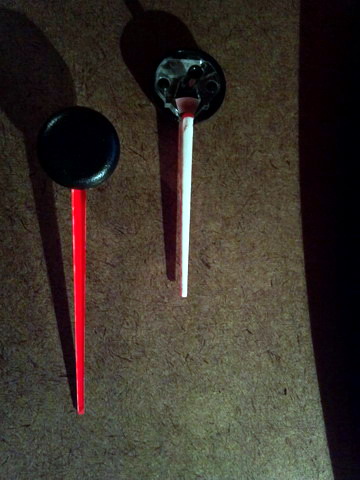
The result is a nice clear needle!
I know I have heard others say to simply scrape the paint off the needles. I advise against this for this reason. It scratches the needles badly and will show when the light hits it. Would you rather work with the needle above, or this one...
Compared to the nice needle you can see through, this would not make the car look good.
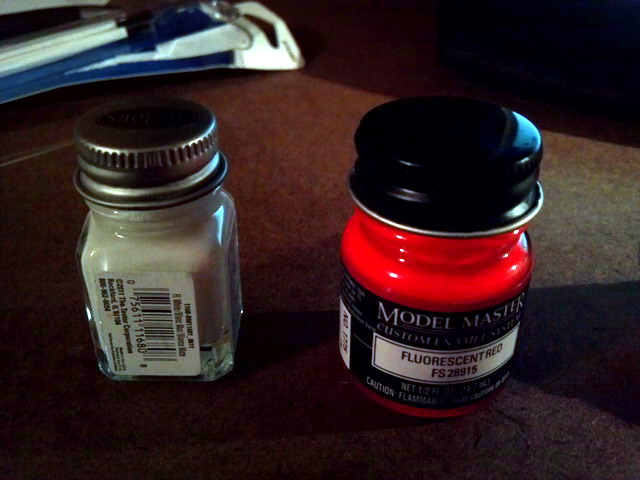
I used Testors Flat White model paint for the needle AFTER the Model Masters Fluorescent Red paint was applied. I used 2 coats of red, one white.

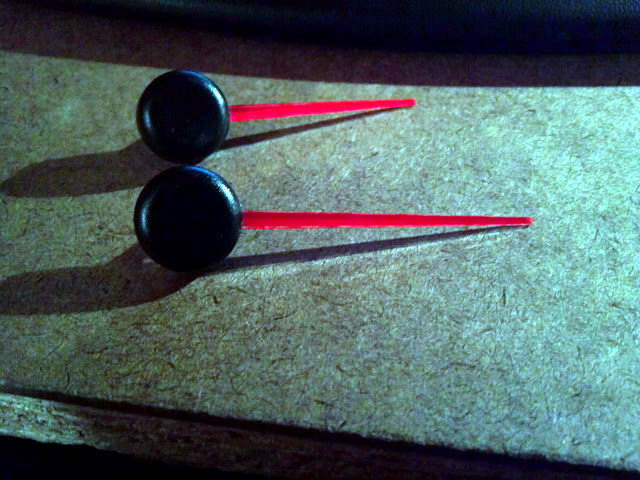
Here are the needles all done with the red coat.ONLY do the back only. You do not need to do the sides or front.
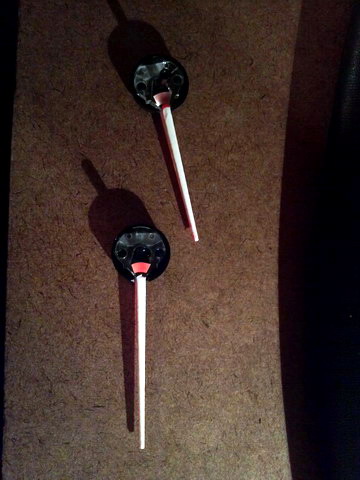
And here they are with the white coat on. The white is used to prevent the light from bleeding through the base color, in this case red. Makes the needle a bit brighter.
Front and back...
And all ready to install.
Re-installing these needles in the cluster and how to get the right readings.
Get the engine running and at normal running temp. take a pic of your needles or write down where they are, then pull them off.
Follow the instructions above then reinstall. Again, I would recommend painting them white on the back of the color of your choice.
Make sure that you have it warmed back up before installing the temp gauge. The best way to install the speedometer needle is while running at steady speed using a gps to verify your speed, and simply press the needle on.

.png)
.png)