Installing Steering Wheels Radio Controls
In your 95-99 GM Full Size
I decided that I loved the steering wheel radio controls that were in my sons 99 blazer, and since we are trading it, I decided to experiment. I have heard it several times that it wont work, but I wanted to try it. It does work...
This is how to install this nice feature into your OBS that didn't have this option...
You will need the following tools:
4mm socket 7mm socket and driver
#20 and #30 torx bits and driver
Small tipped snap ring pliers for external lock ring.
Small screwdriver, and or hook tool.
13/16 or equivalent socket, short extension and ratchet.
Steering wheel puller
You will need the following parts from an s-series (truck, blazer, jimmy, or bravada) preferably of the same model year:
1. Steering Wheel from 98+ S Series with airbag, button came in black or grey.
2. The clock spring from the same vehicle/year model.
3. Basic hand tools like sockets or wrenches, torx head screw drivers, wire strippers/crimpers , butt connectors, zip ties, and snap ring pliers.
4. Steering wheel puller. Can be bought or rented from your local AutoZone.
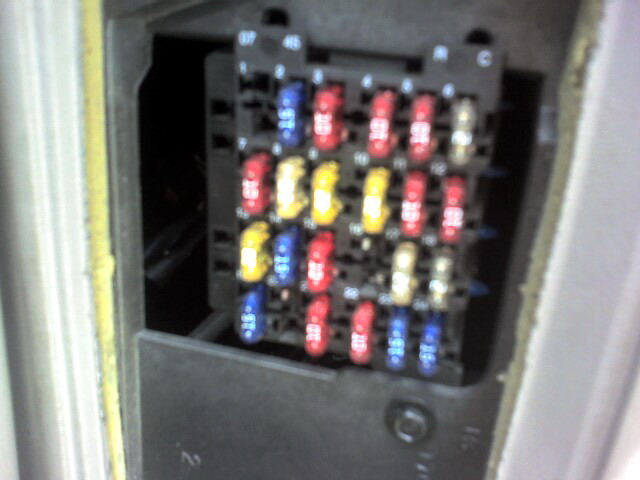
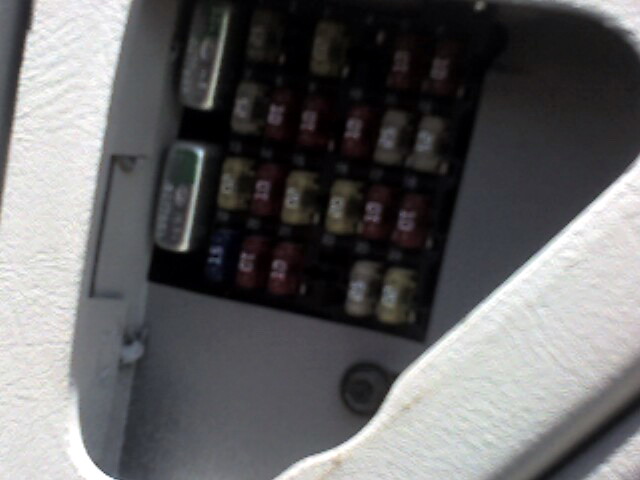
The vehicle must be off. Set the emergency brake and observe all precautions for working on the vehicles electrical system. Remove the SIR fuse from each vehicle you are working on, unless its in a junkyard and use precautions for working with the vehicles air bag (SIR). I shall not be responsible if you goof and the air bag removes a body part. Play it safe and pull the fuse, or even disconnect the battery. On 98+ S Series models this is 15 amp fuse located in slot 16 of the fuse panel. On the Full size , at least in the Suburban it was fuse 10. Wait at least 30 minutes for any stored energy to dissipate from the system.
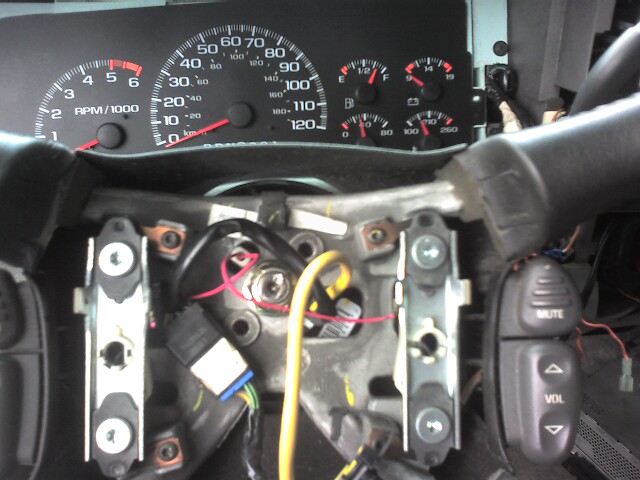
Start by removing the air bag module. On the back side of the steering wheel there are two slots to access the spring that retains the two module retention pins. These spring clips need to be pushed to the center to disengage from the notch. Easier said than done. Older large bag wheels have I believe 4.
Carefully pull the retention clip and connector from the back of the air bag module. Place it aside in a safe place. Treat it like a bomb.

Remove the steering wheel retention nut. Install the gear puller and pull the steering wheel. Be sure to release the horn connection. It is the white plastic piece with the two red wires.
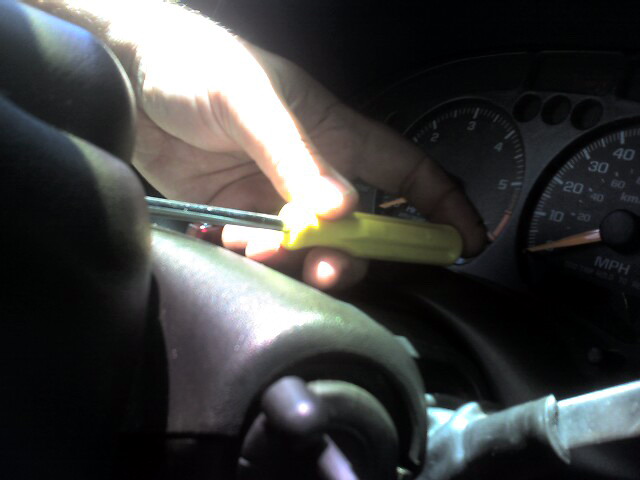
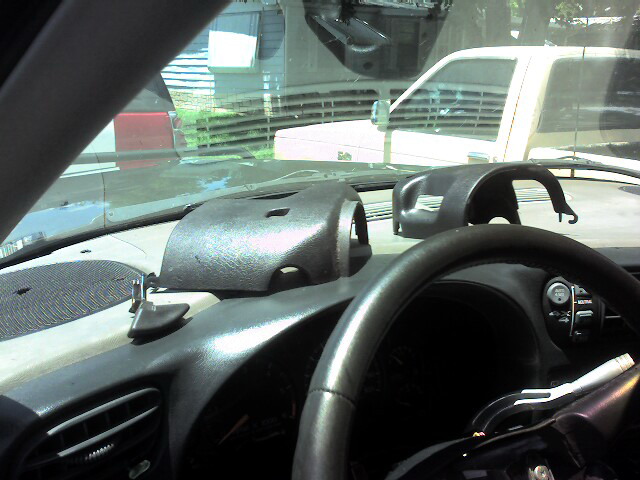
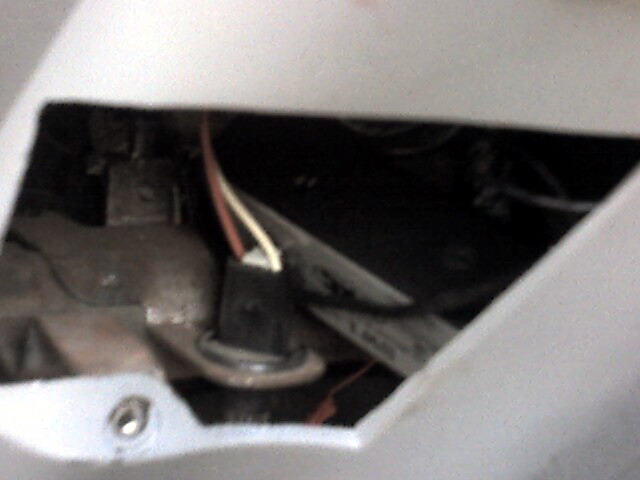
Next we will work on the column. Pull the tilt knob. The small screwdriver will help get it loose. Remove two #20 torx screws from the lower half of the cover and tilt it down. The lower half attaches to the upper half with hooks at the bottom. Don't break them. Now you have access to the 4mm screw near the ignition lock cylinder that retains the upper half of the cover.You will not need to remove the upper half completely.
Now you can remove the snap ring and the clock spring.
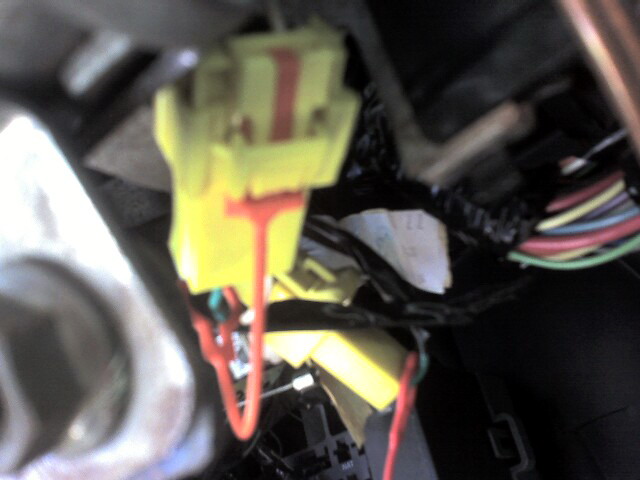
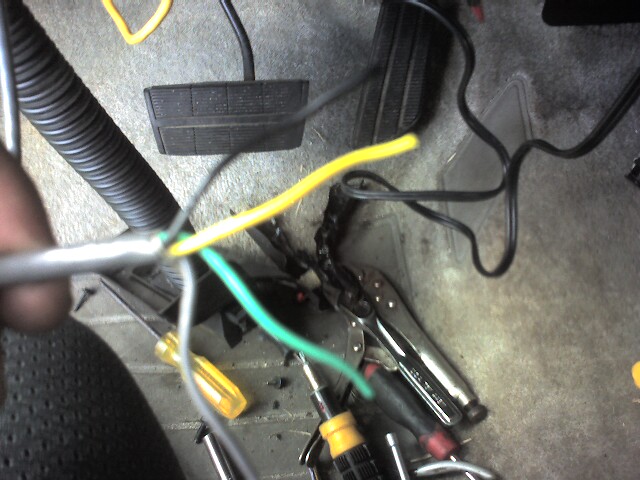
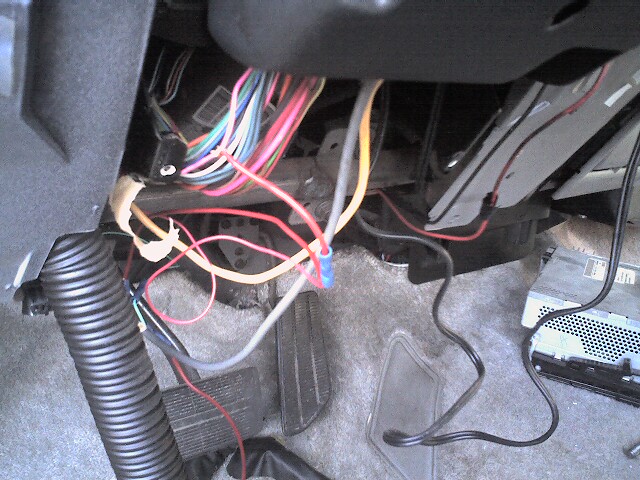
Under the dash on the drivers side, remove the black plastic panel where the OBDII connector is mounted. Remove the knee bolster. Cut the zip ties that hold the wiring in place and disconnect the yellow connector for the SIR harness. You will need to remove the orange safety retainer, simply pull it out.
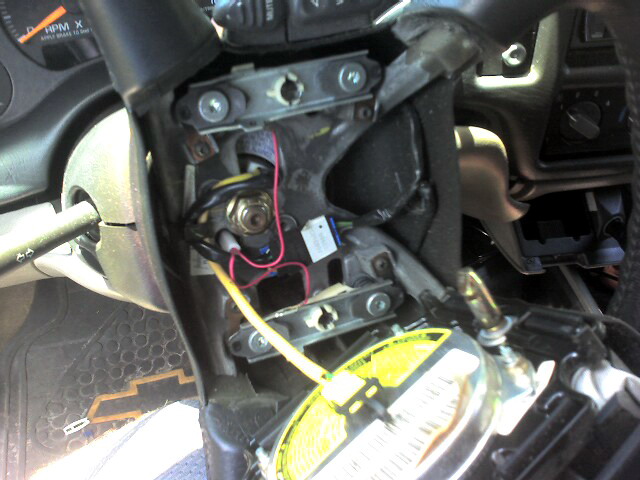
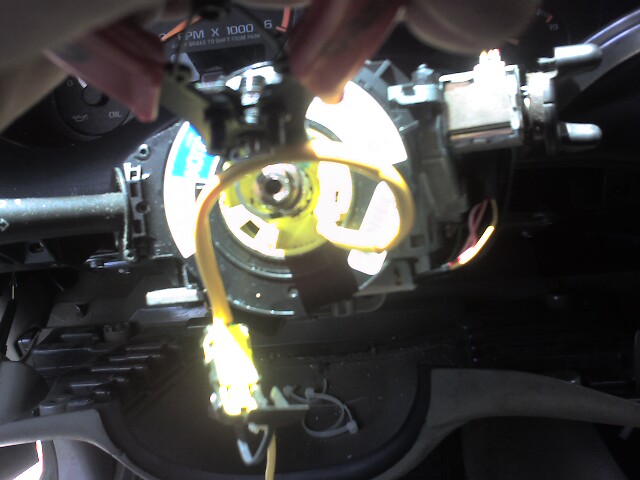
This is the standard no controls clockspring. It only has the single yellow wire. I have heard you are supposed to reset this, but if you remove it carefully, and don't play with it, it will be fine.

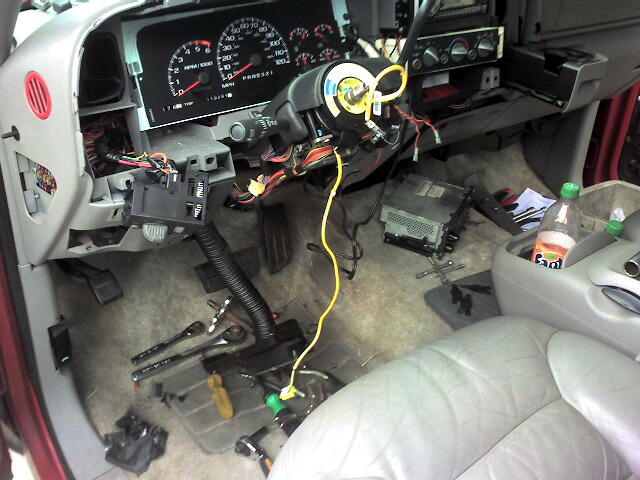
Re-install the new clocksping, it will have a extra wire set on it, in gray. Once that is in and the snap ring is back in place, just feed the wires along the wiring harness along the column, and wire tie. Hook the air bag plug (yellow) back in and re-do the safety clip. Then simply install the wheel, and re-hook the horn, and the radio wiring in the wheel.
Re-install the Air Bag, simply by hooking the yellow connector to the bag, and pushing the assembly on the wheel until it clicks in place.
Now, You will still have your gray wires. Simply cut the plug off, as you will not need it, and strip back the gray wire cover. Inside that, you will find 4 wires. A yellow, black, green, and gray.
Here are the connections...
yellow wire = 12v switched (hot with key on)
grey = dash lights positive (makes the buttons light)
green = wheel signals to the new PAC SWI-X unit.
black = ground.
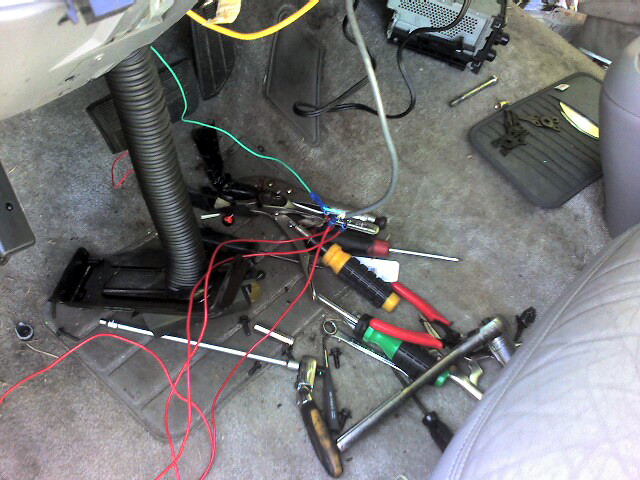
Simply use your butt connectors and wire it all together. Make it a nice clean job. There are a lot more wires on my Suburban than you will deal with because my truck has the audiovox drop down TV/dvd unit.
Here is the PAC interface I got. I picked it up on EBay for 19 bucks.
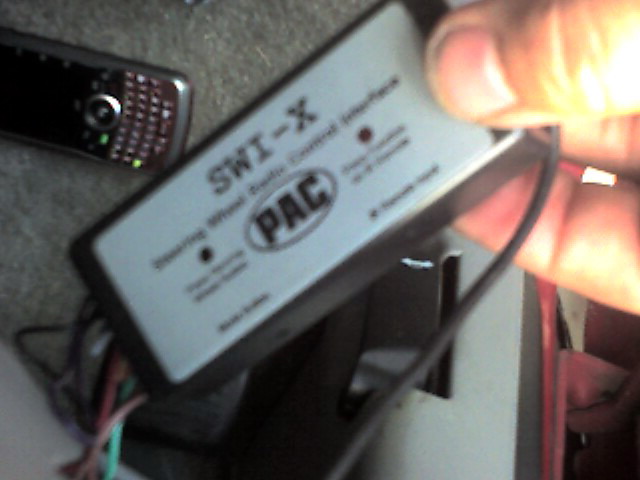
Program it as per the instructions, then tuck it away. Don't bury it though, as if you ever have a dead battery, you may have to re-program it, but I am not sure. I made mine easy to retrieve if needed.
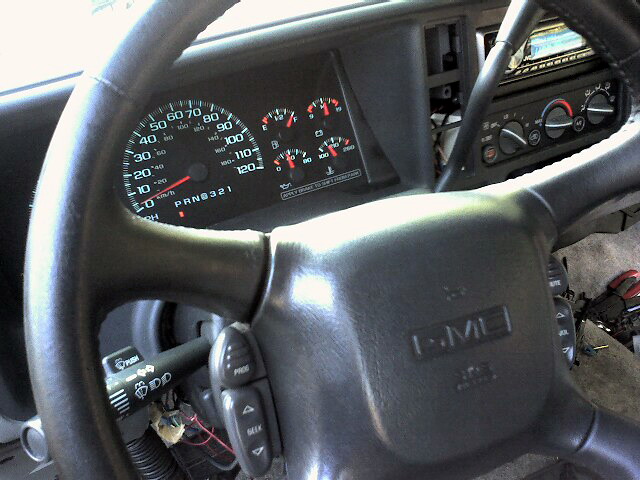
All done, and it looks great.
and it really works!
All told, if I would have been able to work straight through with no interruptions, it would have been complete in 3-4 hrs. But, on that note, I did both vehicles at one time, so if you don't have to replace the other one, it will be faster.
Here's a demontration on how well it works...

.png)
.png)